With this project we will focus on SwiftUI Navigation. Navigation is divided into two main types.
- Navigation driven by user interaction
- Programmatic navigation (self triggered programmatic navigation)
Introduction #
NavigationStack can be used to switch from one screen to another screen.
In the simplest form, we can create a navigation using NavigationLink.
NavigationStack {
    NavigationLink("Tap Me") {
        Text("Detail View")
    }
}
But there is a hidden problem here. This can cause serious performance issues for us in the future. For example, let’s say we have a DetailView;
struct DetailView: View {
    var number: Int

    var body: some View {
        Text("Detail View \(number)")
    }

    init(number: Int) {
        self.number = number
        print("Creating detail view \(number)")
    }
}
We can also access DetailView from ContentView by using NavigationLink as follows.
NavigationStack {
    List(0..<1000) { i in
        NavigationLink("Tap Me") {
            DetailView(number: i)
        }
    }
}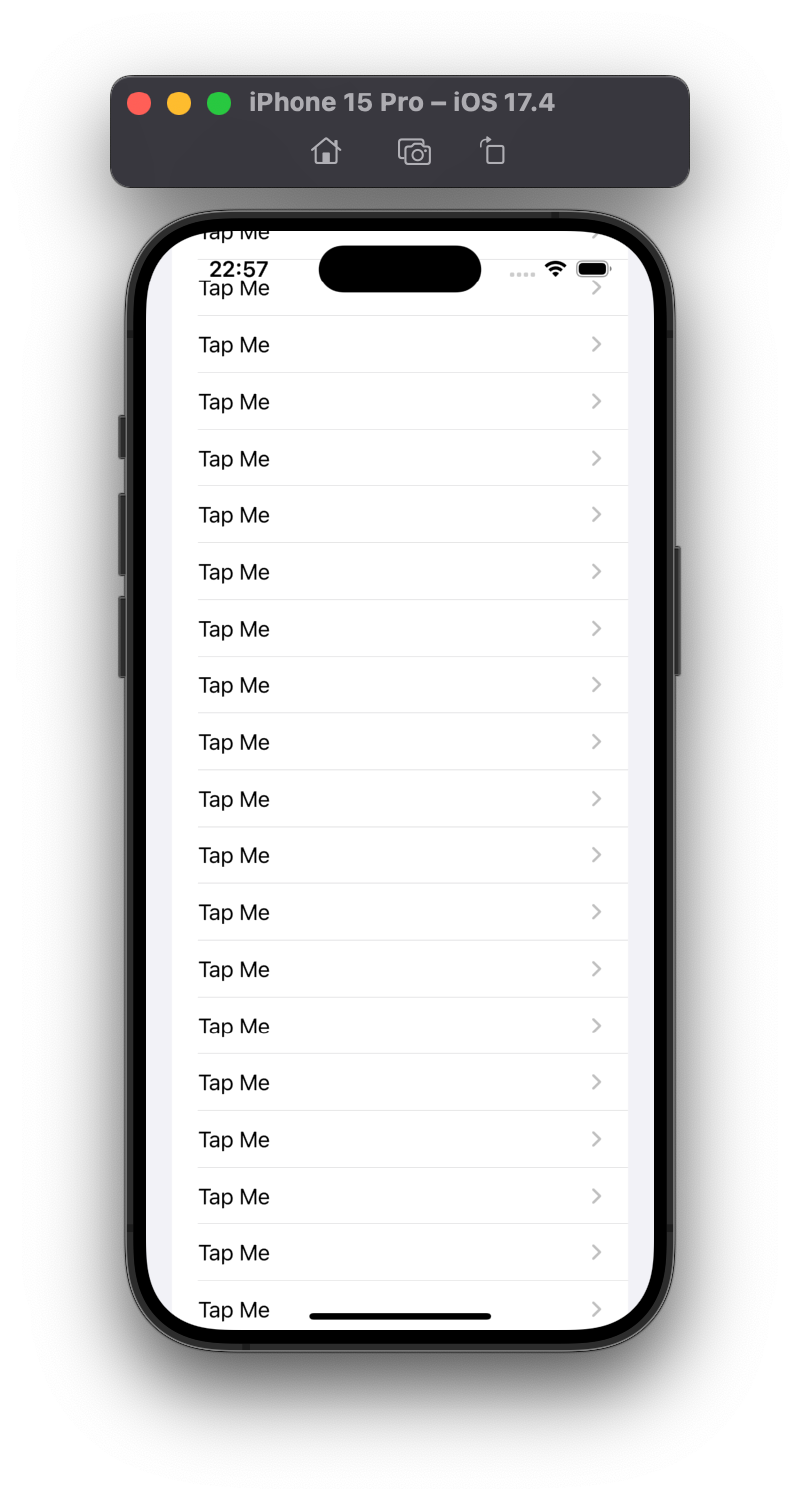
As you can see, we have a navigation where we can go to 1000 details.
This is where the problem starts: don’t click anywhere to trigger the navigation. When you look at the Xcode debug console, you will see that many DetailView instances are created. In fact, if you scroll down the List you can see that more instances are still being created.
*Note: Due to the line print(“Creating detail view \(number)”) in the DetailView initializer, the console prints this text every time an instance is created.

navigationDestination() Usage #
NavigationStack {
    NavigationLink("Tap Me") {
        Text("Detail View")
    }
}
As we can see in the code block above, we provide both label and destination in NavigationLink to create a simple navigation. But for a more advanced navigation, we can separate the destination from the value, so that the destination is loaded only when needed.
We can do this in two steps;
- Add a value to
NavigationLinkthat conforms to theHashableprotocol. - We add the
navigationDestination()modifier to the navigation stack to tell it what to do when it receives our data.
Most of Swift’s built-in types conform to the Hashable protocol. For example, Int, String, Date, URL, Array and Dictionary conform to the protocol.
First, let’s create a List of 100 numbers, each of which is a NavigationLink, so we tell SwiftUI that we want to navigate to a number.
NavigationStack {
    List(0..<100) { i in
        NavigationLink("Select \(i)", value: i)
    }
}
Our code above will not work exactly. Because NavigationLink has a label to show but no destination.
This is where the navigationDestination() modifier comes in: “when you are asked to navigate to an integer, here is what you need to do….”. Let’s change our code like this;
NavigationStack {
    List(0..<100) { i in
        NavigationLink("Select \(i)", value: i)
    }
    .navigationDestination(for: Int.self) { selection in
        Text("You selected \(selection)")
    }
}
In this way, when we want to navigate with any Int value, this value is given to us with selection. We can use this value with our destination view.
Note: If we have several different data types, we just need to add a few navigationDestination() modifiers to navigate to them. In effect we are saying “if you want to navigate to an integer do this, but if you want to navigate to an array do this”.
The above system works great for most data. But for more complex data, like custom structs, we need to use hashing.
What is Hashable? #
What is hashing? For example, let’s say we download 10GB of data from the internet. How can we be sure that each piece of data was downloaded successfully? If we hash the file using the hash function, we get a short string. We can then compare the hash on the server with the hash of the file we downloaded. Of course, it’s easier to compare two short strings than two 10GB files. Thanks to hash functions, the hash value for each piece of data is unique and consistent. So we get the same hash value for the same file every time.
In Swift, if we create a special struct with all properties conforming to Hashable, we can very easily make the whole struct conform to Hashable.
For example, this struct contains a UUID, an array and an integer;
struct Student {
    var id = UUID()
    var name: String
    var age: Int
}
To make this struct suitable for Hashable, we just need to add something like this.
struct Student: Hashable {
    var id = UUID()
    var name: String
    var age: Int
}
Now that our Student struct is suitable for Hashable, it can be used with both NavigationLink and navigationDestination() like integers or arrays.
You can also read this article in Turkish.
Bu yazıyı Türkçe olarak da okuyabilirsiniz.