
With this project we will examine why SwiftUI uses structs for views, why some view is used so much and how modifiers work exactly.
Why Use Struct in SwiftUI? #
If you have used UIKit, you may have noticed that we use classes instead of structs for views. This is not the case in SwiftUI, in general we will prefer to use struct for views. But why?
First, there is a performance element: structs are simpler and faster than classes. But this is not the main reason to use structs.
In UIKit, each view comes from a class called UIView, which has many properties and methods, such as the background color, constraints that determine how it is positioned, and so on. These are numerous and every UIView has to have them even if it doesn’t need them, because that’s how inheritance works.
In SwiftUI all views are trivial structs and can be created almost effortlessly. Think about it, if we make a struct that holds a single integer, the entire size of our struct is that single integer. No surprise extra values inherited from superclasses.
Thanks to the power of modern iPhones, we can easily create 1000 SwiftUI views, or even 100,000 SwiftUI views, so fast that it’s not worth thinking about.
While performance is important, there is something much more important for views that are structs: it forces us to think about isolating state cleanly. Classes can freely change their values, which can lead to more complex code.
SwiftUI encourages us to move to a more functional design approach by generating views that don’t change over time.
In contrast, Apple’s UIView document lists about 200 properties and methods that UIView has, all of which are passed to subclasses whether they are needed or not.
If we use a class for view in SwiftUI, we may find that our code does not compile or crashes at runtime.
What’s Behind the main SwiftUI view? #
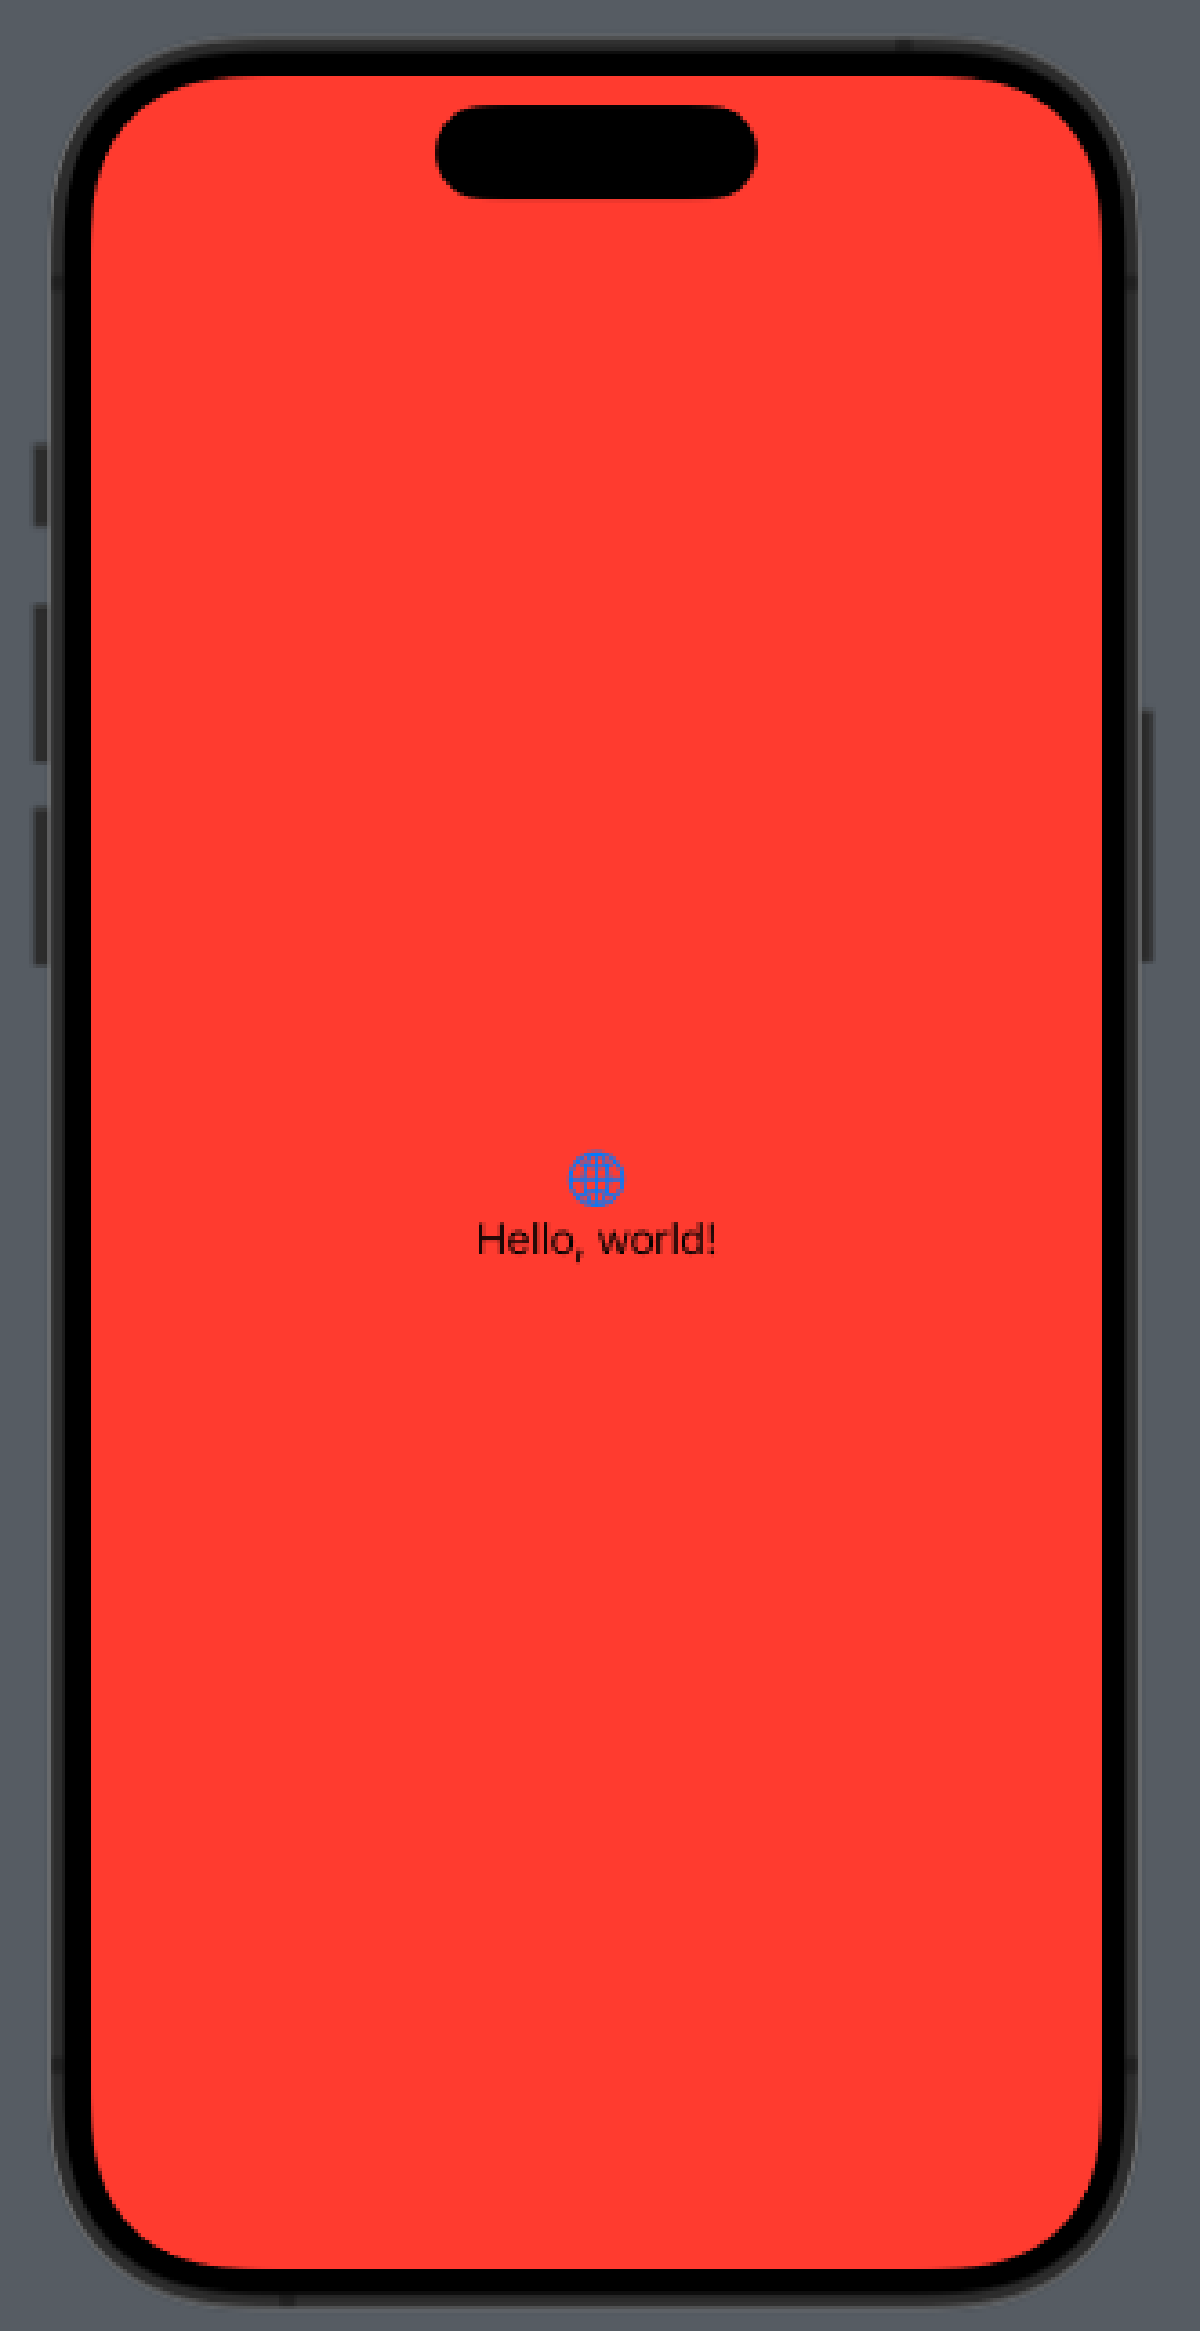
When we create a SwiftUI project, we see the following code;
struct ContentView: View {
    var body: some View {
        VStack {
            Image(systemName: "globe")
                .imageScale(.large)
                .foregroundStyle(.tint)
            Text("Hello, world!")
        }
        .padding()
    }
}
It is then common to add a background color to this VStack and let it fill the screen;
struct ContentView: View {
    var body: some View {
        VStack {
            Image(systemName: "globe")
                .imageScale(.large)
                .foregroundStyle(.tint)
            Text("Hello, world!")
        }
        .padding()
        .background(.red)
    }
}
But what we expect does not happen. Instead, we see a small red image in the center of the screen and a white space beyond it.
This confuses people and often leads to the question “how do I make the area behind the view turn red?”.
Actually there is nothing behind the view. You should not try to turn this white area red with temporary solutions.
Behind the Content View is something called UIHostingController: It is the bridge between UIKit and SwiftUI. But if we try to change this, you’ll see that our code doesn’t work and in fact may stop working completely on iOS at some point in the future.
Instead, let’s imagine that there is nothing behind the view.
When we have this in mind, the right solution is to make VStack take up more space. Instead of filling the screen around its contents, we can make it fill the screen. We can do this by using the frame() modifier, setting .infinity for both its maximum width and maximum height.
So let’s modify the padding() modifier as follows;
.frame(maxWidth: .infinity, maxHeight: .infinity)
Using maxWidth and maxHeight is different from using width and height. We are not saying that VStack has to take up all the space, only that it can. If there are other views around, SwiftUI will make sure they all have enough space.
Does the SwiftUI Modifier Order Matter? #
Almost every time a modifier is applied to a SwiftUI view, we actually create a new view to which this modification is applied, we just don’t change the existing view in place. Views only hold the exact properties we give them, so if we adjust the background color or font, there is nowhere to store that data.
Let’s examine this code;
Button("Hello, world!") {
    // do nothing
}
.background(.red)
.frame(width: 200, height: 200)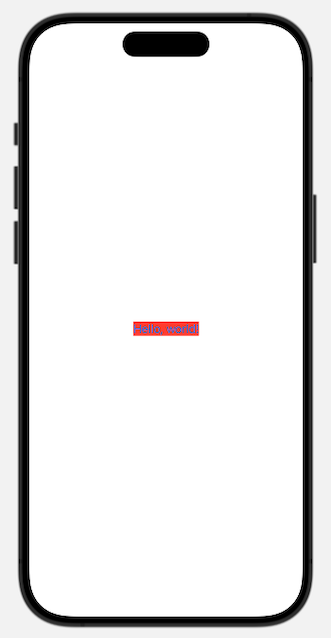
We will not see a 200x200 red button with “Hello, world!” in the center. Instead we will see an empty 200x200 square like the one above, with “Hello, world!” in the center and a red rectangle just around the text.
Each modifier, instead of setting a property on the view, creates a new structure to which that modifier is applied.
By asking for the type of the view’s body, we can get a peek inside SwiftUI;
Button("Hello, world!") {
    print(type(of: self.body))
}
.background(.red)
.frame(width: 200, height: 200)
The type(of:) function prints the exact type of a given value and in this example will print the following;
ModifiedContent<ModifiedContent<Button<Text>, _BackgroundStyleModifier<Color>>, _FrameLayout>
We will see two things here;
- When we modify a view, SwiftUI applies this modifier using generics: ``ModifiedContent<OurThing, OurModifier>`
- When we apply more than one modifier, they are stacked :
ModifiedContent<ModifiedContent<…
To read what type is, let’s start from the innermost type and work our way outwards;
- The innermost type is :
ModifiedContent<Button<Text>, _BackgroundStyleModifier<Color>Our button has a text with background color applied. - Around it is
ModifiedContent<..., _FrameLayout>which takes the first view (button + background color) and gives it a bigger frame.
This means that the modifier order is important. If we rewrite our code to apply the background color after the frame, we can get the result we expect.
Button("Hello, world!") {
    print(type(of: self.body))
}
.frame(width: 200, height: 200)
.background(.red)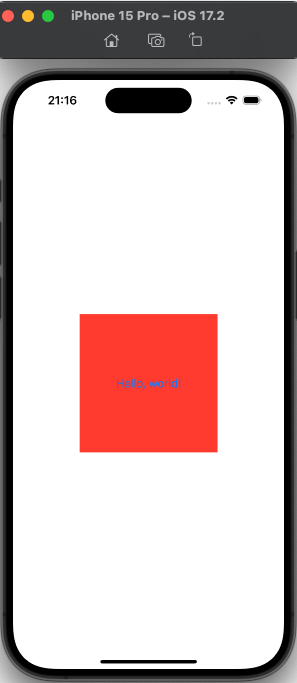
The best way to think about it for now is to imagine that SwiftUI renders the view after each modifier. So as soon as we say .background(.red), it paints the background red, regardless of which frame we give it. If we then expand the frame, it doesn’t magically redraw the background.
Of course SwiftUI doesn’t actually work this way, because it would be a performance nightmare if it did. It’s just a mental shortcut to use while learning.
An important side effect of using modifiers is that we can apply the same effect more than once.
For example, SwiftUI gives us the padding() modifier, which adds a small space around the view so that it doesn’t get pushed towards other views or the edge of the screen. If we apply padding first, then a background color, then more padding and a different background color, we can give a view multiple borders like this.
Text("Hello, world!")
    .padding()
    .background(.red)
    .padding()
    .background(.blue)
    .padding()
    .background(.green)
    .padding()
    .background(.yellow)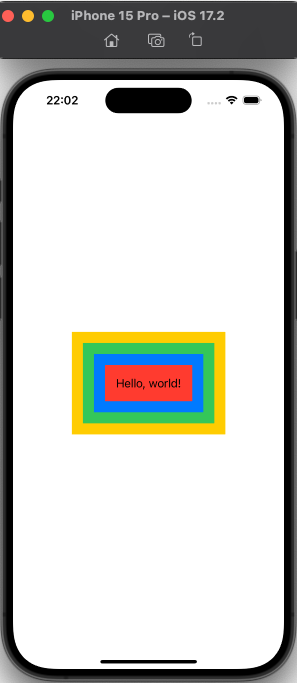
Why SwiftUI uses “some View” as view type? #
We have already mentioned that some View has opaque return value. This means “an object that conforms to the View protocol, but we don’t want to say what it is”.
Returning some View means that the compiler knows which view type to return, even if we don’t. This may seem like a small thing, but it has important implications.
First, using some View is important for performance. SwiftUI needs to be able to look at the views we show and understand how they have changed, so it can update the UI correctly. If SwiftUI didn’t have this extra information, SwiftUI would be very slow to understand what exactly has changed, it would have to drop everything and start again after every small change.
The second difference is important because of the way SwiftUI renders its data using ModifiedContent.
Button("Hello World") {
    print(type(of: self.body))
}
.frame(width: 200, height: 200)
.background(.red)
This creates a simple button, then makes it print the full Swift type and gives a long output with several ModifiedContent instances.
The View protocol has a type attached to it, this means that View does not make sense on its own. We need to say exactly what kind of view it is.
So you are not allowed to write such a view;
struct ContentView: View {
    var body: View {
        Text("Hello, world!")
    }
}
It is possible to write a view in this way;
struct ContentView: View {
    var body: Text {
        Text("Hello, world!")
    }
}
It doesn’t make sense to just return View, because Swift wants to know what’s inside the view. On the other hand, there is no problem returning Text because Swift knows what the view is.
Now let’s go back to the code we wrote earlier;
Button("Hello World") {
    print(type(of: self.body))
}
.frame(width: 200, height: 200)
.background(.red)
If we want to return one of them in our body property, what should we write? We could try to find the exact combination of ModifiedContent constructs to use, but that’s really hard. The truth is that we don’t care because all this is internal SwiftUI stuff.
What some View allows us to do is to say “this will be a view like Button or Text, but I don’t want to say what it is”. So, the space that View has will be filled by a real view object, but we don’t need to write the exact long type.
There are two places where it gets a bit more complicated;
- How does
VStackwork? IfViewfits the protocol and can contain many different things, what kind of content does it have? - What if we send two views directly in
bodyproperty without wrapping them with a stack?
To answer the first question, if we create a VStack with two text views in it, SwiftUI creates a TupleView containing these two views. A TupleView is a special type of view that holds exactly two views (for this example). Thus, VStack answers the question “what kind of view is this?” as “a TupleView containing two text views”.
What if there are three text views in the VStack? Then it becomes a TupleView with three views. Or four views, or eight views, or even 10 views. The TupleView keeps expanding.
As for the second question, Swift silently applies a special attribute called @ViewBuilder to the body property. This wraps multiple views in a TupleView container. So even though we appear to be sending back multiple views, they are combined into a single TupleView.
If you right click on the view protocol and select “Jump to Definition”, we see that the body property is required and marked with the @ViewBuilder attribute.
@ViewBuilder @MainActor var body: Self.Body { get }SwiftUI Conditional Modifier #
It is common to want modifiers to be applied only under a certain condition, and the easiest way to do this in SwfitUI is to use ternary operator.
For example, if we had a property that could be true or false, we could use it to control the style of a button like below.
struct ContentView: View {
    @State private var useRedText = false

    var body: some View {
        Button("Hello World") {
            // flip the Boolean between true and false
            useRedText.toggle()
        }
        .foregroundStyle(useRedText ? .red : .blue)
    }
}
So, when useRedText is true, the modifier becomes .foregroundStyle(.red), and when false it becomes .foregroundStyle(.blue). Since SwiftUI tracks changes in @State properties and recalls the body property, the color will be updated immediately whenever this property changes.
In some cases, we can usually use normal if conditions to return different views, but this actually creates more work for SwiftUI. Instead of seeing one Button used with different colors, it now sees two different Button views. So when we change the boolean condition, it will create the new button by destroying the old one, instead of just recoloring the color it has.
So, this kind of code may look the same, but it is actually less efficient;
var body: some View {
    if useRedText {
        Button("Hello World") {
            useRedText.toggle()
        }
        .foregroundStyle(.red)
    } else {
        Button("Hello World") {
            useRedText.toggle()
        }
        .foregroundStyle(.blue)
    }
}
Sometimes the use of if statements is unavoidable, but whenever possible use the ternary operator instead of if.
SwiftUI Environment Modifier #
Many modifiers can be applied to containers, which allows us to apply the same modifier to several views at the same time.
For example, if we have four text views in a VStack and we want to give them all the same font modifier, we can apply the modifier directly to the VStack and have it applied to all four text views;
VStack {
    Text("Gryffindor")
    Text("Hufflepuff")
    Text("Ravenclaw")
    Text("Slytherin")
}
.font(.title)
This is called an environment modifier and is different from a normal modifier applied to a view.
From a coding point of view, these modifiers are used in exactly the same way as normal modifiers. However, if any of these child views override the same modifier, they behave differently as the child version takes precedence.
For example, these four text views are displayed as titles, but one is larger.
VStack {
    Text("Gryffindor")
        .font(.largeTitle)
    Text("Hufflepuff")
    Text("Ravenclaw")
    Text("Slytherin")
}
.font(.title)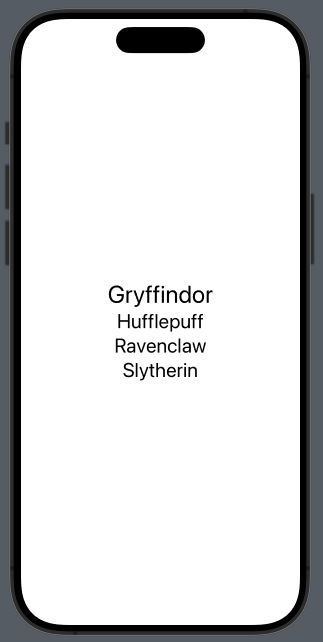
The outermost font() above is an environment modifier, so the “Gryffindor” text view can override it with a custom font.
The following code applies a blur effect to VStack and then tries to disable it in a text view.
VStack {
    Text("Gryffindor")
        .blur(radius: 0)
    Text("Hufflepuff")
    Text("Ravenclaw")
    Text("Slytherin")
}
.blur(radius: 5)
The code above will not work the same way. blur() is a normal modifier. Therefore the blur applied to child views adds to the VStack blur instead of replacing it.
There is no other way to know which modifiers are environment modifiers and which are normal modifiers than reading the documentation.
Property As view #
An easy way to create complex view hierarchies is to create views as a property and then use these properties in the layout.
For example, we can create two text views as properties and use them in VStack.
struct ContentView: View {
    let motto1 = Text("Draco dormiens")
    let motto2 = Text("nunquam titillandus")

    var body: some View {
        VStack {
            motto1
            motto2
        }
    }
}
We can even apply modifiers to these properties directly where they are used.
VStack {
    motto1
        .foregroundStyle(.red)
    motto2
        .foregroundStyle(.blue)
}
Creating views as properties helps us keep our body code cleaner, but also reduces code repetition.
Swift does not allow us to create stored properties that refer to other strored properties, as this will cause problems when the object is created.
But this way we can create a computed property.
var motto1: some View {
    Text("Draco dormiens")
}
This is often a great way to break complex views into smaller pieces. But there is one thing to be aware of. Unlike the body property, Swift cannot automatically apply the @ViewBuilder attribute here, so we have three options if we want to send multiple views back.
First, we can place them in a Stack as follows.
var spells: some View {
    VStack {
        Text("Lumos")
        Text("Obliviate")
    }
}
If we don’t particularly want to organize them as a stack, we can send them back as a Group. In this case, the layout of the views is determined by how we use them elsewhere in our code.
var spells: some View {
    Group {
        Text("Lumos")
        Text("Obliviate")
    }
}
As a third option we can add the @ViewBuilder attribute ourselves as below;
@ViewBuilder var spells: some View {
    Text("Lumos")
    Text("Obliviate")
}
SwiftUI View Composition #
SwiftUI allows us to break down complex views into smaller views without suffering any performance impact. This means we can split a large view into multiple smaller views and SwiftUI will reassemble them for us.
For example, in this view we have a special way to style the text view.
struct ContentView: View {
    var body: some View {
        VStack(spacing: 10) {
            Text("First")
                .font(.largeTitle)
                .padding()
                .foregroundStyle(.white)
                .background(.blue)
                .clipShape(.capsule)

            Text("Second")
                .font(.largeTitle)
                .padding()
                .foregroundStyle(.white)
                .background(.blue)
                .clipShape(.capsule)
        }
    }
}
Since these two text views are identical except for their text, we can combine them into a new custom view as below.
struct CapsuleText: View {
    var text: String

    var body: some View {
        Text(text)
            .font(.largeTitle)
            .padding()
            .foregroundStyle(.white)
            .background(.blue)
            .clipShape(.capsule)
    }
}
Then we can use this CapsuleText view in the original view as follows.
struct ContentView: View {
    var body: some View {
        VStack(spacing: 10) {
            CapsuleText(text: "First")
            CapsuleText(text: "Second")
        }
    }
}
Of course, we can add some modifiers in this custom view. We can remove foregroundStyle() from CapsuleText and apply them later.
VStack(spacing: 10) {
    CapsuleText(text: "First")
        .foregroundStyle(.white)
    CapsuleText(text: "Second")
        .foregroundStyle(.yellow)
}
SwiftUI Custom Modifier #
Just as SwiftUI has built-in modifiers, we can also create custom modifiers.
To create a custom modifier, create a new struct conforming to the ViewModifier protocol. It only needs one requirement, a method called body that accepts Content and returns some View.
For example, we can say that all the titles in our application should have a specific style. So first we need to create a special ViewModifier struct that does what we want:
struct Title: ViewModifier {
    func body(content: Content) -> some View {
        content
            .font(.largeTitle)
            .foregroundStyle(.white)
            .padding()
            .background(.blue)
            .clipShape(.rect(cornerRadius: 10))
    }
}
Now we can use it with the modifier() modifier. Yes, a modifier called “modifier” 😅
Text("Hello World")
    .modifier(Title())
When working with custom modifiers it is often a good idea to create extensions on the View that make it easier to use them. For example, we can wrap the Title modifier with an extension like the one below,
extension View {
    func titleStyle() -> some View {
        modifier(Title())
    }
}
Now we can use the modifier as follows;
Text("Hello World")
    .titleStyle()
Custom modifiers can do much more than just apply other existing modifiers, they can also create new view structure when needed. Remember modifiers return new objects instead of replacing existing ones, so we can create one that places the view in a Stack and add another view.
struct Watermark: ViewModifier {
    var text: String

    func body(content: Content) -> some View {
        ZStack(alignment: .bottomTrailing) {
            content
            Text(text)
                .font(.caption)
                .foregroundStyle(.white)
                .padding(5)
                .background(.black)
        }
    }
}

extension View {
    func watermarked(with text: String) -> some View {
        modifier(Watermark(text: text))
    }
}
After writing the code above, we can now add a watermark like this to any view.
Color.blue
    .frame(width: 300, height: 200)
    .watermarked(with: "Hacking with Swift")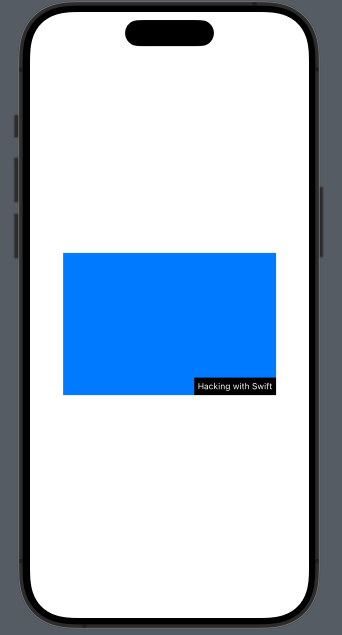
custom modifier’lar kendi stored property’leri varken,
Viewextension olamaz.
You can also read this article in Turkish.
Bu yazıyı Türkçe olarak da okuyabilirsiniz.