
In today’s article, we will use the List, UITextChecker and App Bundle we learned on day 29 in a real application and build our game World Scramble. Here we go.
This project is also available on GitHub.
GitHub - GorkemGuray/Word-Scramble: 100 Days of SwiftUI - Project-5
Adding the Word List #
The user interface of this application will consist of three main SwiftUI views;
- A
NavigationStackshowing the word they are spelling TextFieldwhere they can enter a answer- A
Listshowing all the words they have entered before
For now, every time users enter a word in the text field, we will automatically add it to the list of used words. But later on, we will add some validation to make sure that the word has not been used before, that it can actually be generated from the given root word and that it is a real word and not just random letters.
Let’s start with the basics: we need an array of words that they have used before, a root word to spell other words and a string that we can bind to a text field. Now let’s add these three properties to ContenView;
@State private var usedWords = [String]()
@State private var rootWord = ""
@State private var newWord = ""
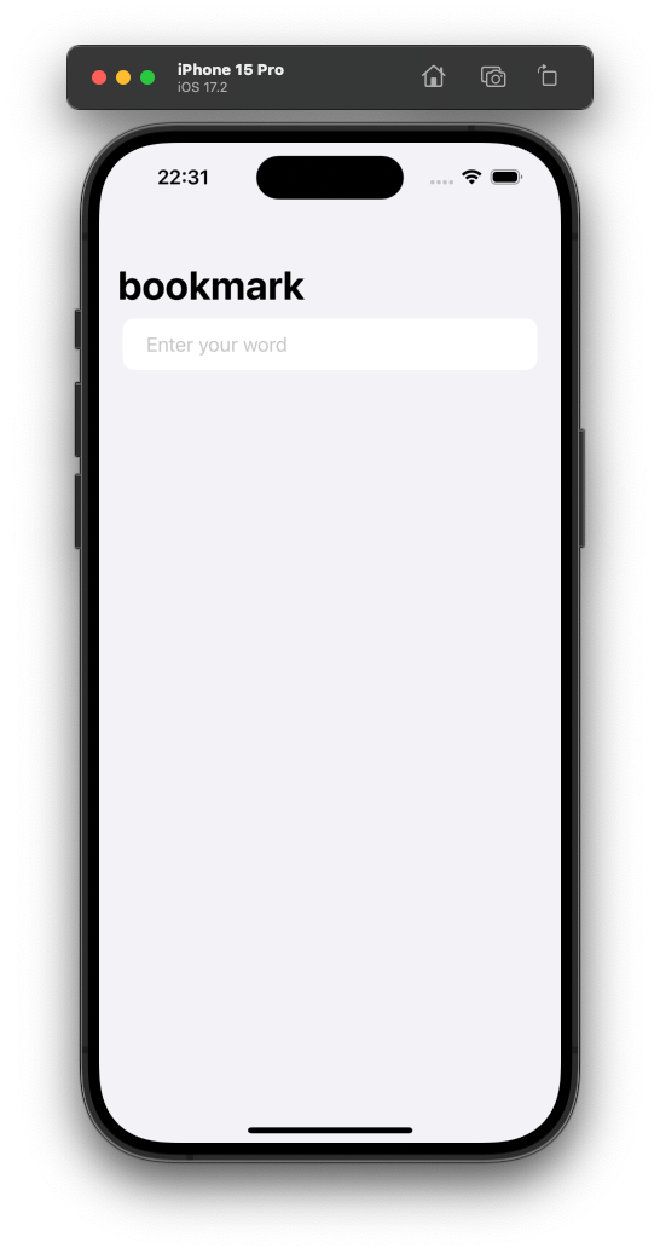
In body we will start as simple as possible. We will create a NavigationStack with rootWord as its header and then a few Sections in List;
var body: some View {
    NavigationStack {
        List {
            Section {
                TextField("Enter your word", text: $newWord)
            }

            Section {
                ForEach(usedWords, id: \.self) { word in
                    Text(word)
                }
            }
        }
        .navigationTitle(rootWord)
    }
}
Using id: \.self can cause problems if there are many duplicates in usedWords, but we will deal with that later.
Now, there is a problem in the text view. Although we can type in the text box, we can’t send anything from there, there is no way to add our input to the list of used words.
To fix this problem, we will write a new method called addNewWord();
- It will convert
newWordto lowercase and remove all spaces. - It will check if there is at least 1 character, otherwise it will exit the method
- It will add this word to position 0 in the
usedWordsarray. - will set
newWordto an empty string again.
We will then add some extra validation between steps 2 and 3 to make sure the word is allowable. But for now, this method will do the job;
func addNewWord() {
    // lowercase and trim the word, to make sure we don't add duplicate words with case differences
    let answer = newWord.lowercased().trimmingCharacters(in: .whitespacesAndNewlines)

    // exit if the remaining string is empty
    guard answer.count > 0 else { return }

    // extra validation to come

    usedWords.insert(answer, at: 0)
    newWord = ""
}
We want to call the addNewWord() method when the user presses the return key from the keyboard, and in SwiftUI we can do this by adding the onSubmit() modifier somewhere in our view hierarchy. It can be directly on the button, but it can also be somewhere else in the view as it will be triggered when any text is submitted.
onSubmit() needs to be given a function that accepts no parameters and returns nothing, which exactly matches the addNewWord() method we just wrote. So, by adding this modifier under the navigationTitle() method, we can directly pass the addNewWord method we just wrote.
.onSubmit(addNewWord)
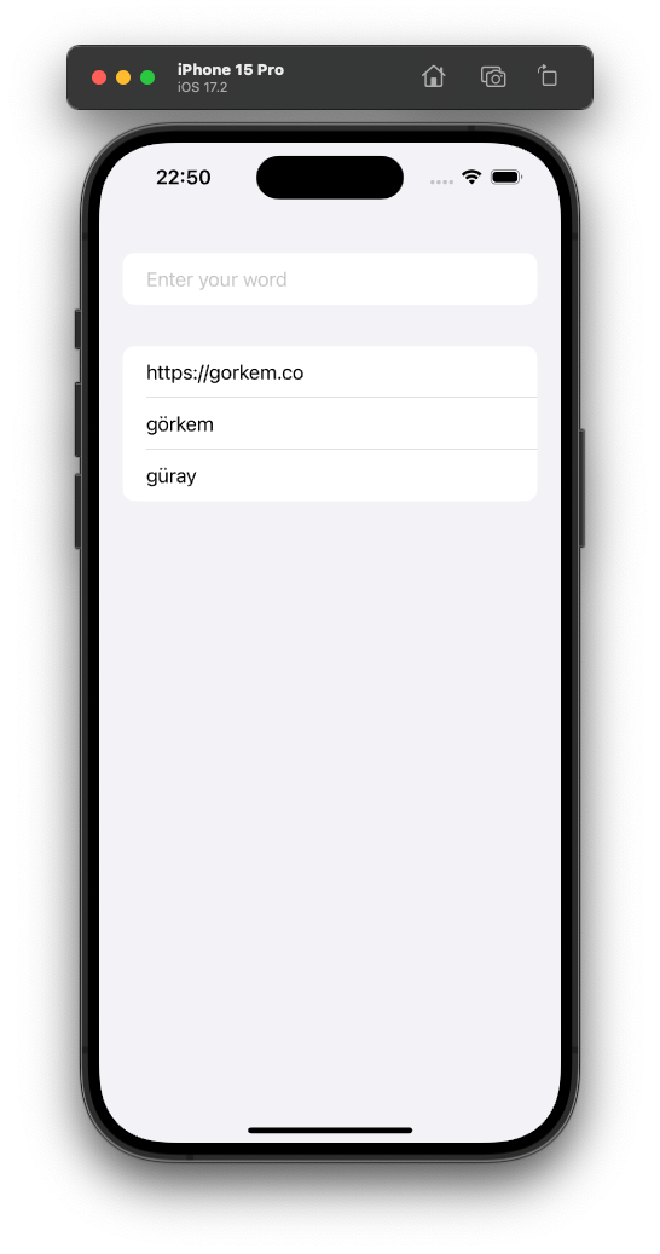
When you enter words in the text field and press return, you can see that the words are added to the list
There is a reason why we use usedWord.insert(answer, at:0) in addNewWord(). If we used append(answer) the new words would appear at the end of the list and would probably be off screen, but when we add the words to the beginning of the array they automatically appear at the beginning of the list, which looks much better.
Before we put a title on the navigation bar, we will make two small changes to the layout.
First, when we call the addNewWord() method, the word the user enters is lowercase. This is useful as it means that the user cannot add “car”, “Car” and “CAR”. However, in practice it looks strange. The text field automatically capitalizes the first letter of whatever the user types, so when he types “Car” what he sees in the list is “car”.
To fix this, we can disable capitalization for the text field with another modifier: textInputAutocapitalization() let’s add it to the text field.
.textInputAutocapitalization(.never)
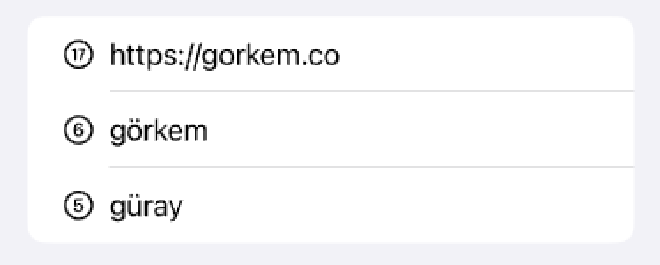
The second thing we will do is to use Apple’s SF Symbols to show the length of each word next to the text. SF Symbols provides numbers in circles from 0 to 50, all named using the “x.circle.fill “ format.
So we can wrap our word text in an HStack and place an SF Symbol next to it using Image(systemName:) as follows;
ForEach(usedWords, id: \.self) { word in
    HStack {
        Image(systemName: "\(word.count).circle")
        Text(word)
    }
}
Currently, when we submit the text field, the text immediately appears in the list, but if we change the insert() call in addNewWord() as follows, we can do this with animation.
withAnimation {
    usedWords.insert(answer, at: 0)
}
SwiftUI Executing Code When Application Starts #
When Xcode creates an iOS project, it places our compiled program, asset catalog, and all other assets into a single directory called a package, and then names that package YouAppName.app. This .app extension is automatically recognized by iOS and Apple’s other platforms, so when you double-click something like Notes.app on macOS, it knows to launch the program inside the package.
In our game, we will add a file called “start.txt” that contains more than 10,000 eight-letter words that will be randomly selected for the game to run. Download this project from GitHub and put it inside your project.
We have already defined a property called rootWord to contain the word we want the player to spell. Now we need to write a new method called startGame();
- Find the start.txt file in our package
- Load to a string
- Split this string into a string array, with each element being a word
- Choose a random word here to assign to
rootWordor use a logical default if the array is empty
Each of these four tasks corresponds to a line of code, but what if we can’t find the start.txt file in our app package, or we find it but can’t load it? In this case we have a serious problem, because our application is really broken, either we somehow forgot to include the file (in which case our game won’t work), or we did include the file but for some reason iOS didn’t let us read it.
Whatever the reason, this is something that should never happen, and Swift provides us with a function called fatalError() that allows us to respond to unsolvable problems in a really clear way. When we call fatalError() it will - unconditionally and always - cause our application to crash.
I know it sounds bad, but what it allows us to do is important. There is no point in trying to keep our application running in a broken state for reasons like those mentioned above. It’s much better to terminate immediately and give us a clear explanation of what went wrong so we can fix it, and that’s exactly what fatalError() does.
Now let’s take a look at our code;
func startGame() {
    // 1. Find the URL for start.txt in our app bundle
    if let startWordsURL = Bundle.main.url(forResource: "start", withExtension: "txt") {
        // 2. Load start.txt into a string
        if let startWords = try? String(contentsOf: startWordsURL) {
            // 3. Split the string up into an array of strings, splitting on line breaks
            let allWords = startWords.components(separatedBy: "\n")

            // 4. Pick one random word, or use "silkworm" as a sensible default
            rootWord = allWords.randomElement() ?? "silkworm"

            // If we are here everything has worked, so we can exit
            return
        }
    }

    // If were are *here* then there was a problem – trigger a crash and report the error
    fatalError("Could not load start.txt from bundle.")
}
Now that we have a method to load everything for the game, we really need to call this method when the view is shown. SwiftUI gives us a special modifier to run a closure when a view is shown, so we can use it to call startGame() and set things in motion. Add the following modifier after onSubmit().
.onAppear(perform: startGame)
If you run the game, you will see a random eight-letter word at the top of the navigation.
Validation with Swift UITextChecker #
Now that our game is ready, the last part of this project is to make sure that the user cannot enter invalid words. We will implement this as four small methods, each of which performs exactly one check.
- Is the word original (has it been used before?)
- Is the word possible (trying to form “car” from the word “silkworm”?)
- Is the word real (is it really an English word)?
If you notice there are only three methods. The 4th method will show error messages.
Let’s start with the first method. This method will accept a string as the only parameter and return true or false depending on whether the word has been used before or not. We already have a usedWord array, so we can pass the word to the contains() method and return the result as follows;
func isOriginal(word: String) -> Bool {
    !usedWords.contains(word)
}
Let’s move on to the other method. How can we check if a random word is composed of the letters of another random word?
There are several ways to overcome this, but let’s try to do the easiest one. If we create a variable copy of the root word, we can loop over each letter of the word the user enters to see if that letter exists in our copy. If it does, we remove it from the copy (so it can’t be used twice), then we continue. If we successfully reach the end of the user’s word, the word is good, otherwise there is an error and we return false.
Here is our second method;
func isPossible(word: String) -> Bool {
    var tempWord = rootWord

    for letter in word {
        if let pos = tempWord.firstIndex(of: letter) {
            tempWord.remove(at: pos)
        } else {
            return false
        }
    }

    return true
}
In our third method, we will use UITextChecker from UIKit. In order to safely bridge Swift strings to Objective-C strings, we need to create an NSRange instance using the UTF-16 number of Swift strings.
So, our last method will create an instance of UITextChecker which is responsible for scanning strings for misspelled words. We will then create a NSRange to scan the entire length of the string, then call the rangeOfMisspelledWord() method on our text checker so that it looks for misspelled words. Once this is done, we will get back another NSRange that tells us where the misspelled word was found, but if the word is ok, the position of this range will be the special value NSNotFound.
Here is our final method;
func isReal(word: String) -> Bool {
    let checker = UITextChecker()
    let range = NSRange(location: 0, length: word.utf16.count)
    let misspelledRange = checker.rangeOfMisspelledWord(in: word, range: range, startingAt: 0, wrap: false, language: "en")

    return misspelledRange.location == NSNotFound
}
Before we use these three, we’ll add some code to make it easier to show error warnings. First, we need some properties to control our warnings.
@State private var errorTitle = ""
@State private var errorMessage = ""
@State private var showingError = false
Now we can add a method that sets the title and message according to the parameters it receives, then sets the showingError Boolean to true;
func wordError(title: String, message: String) {
    errorTitle = title
    errorMessage = message
    showingError = true
}
We can then pass them directly to SwiftUI by adding an alert() modifier under .onAppear();
.alert(errorTitle, isPresented: $showingError) {
    Button("OK") { }
} message: {
    Text(errorMessage)
}
In fact, if we don’t add any Button to the alert, a button that says “OK” is automatically included.
For this reason, we can write the above code as follows;
.alert(errorTitle, isPresented: $showingError) { } message: {
    Text(errorMessage)
}
Now let’s finish our game. Let’s change // extra validation to come in addNewWord() as follows;
guard isOriginal(word: answer) else {
    wordError(title: "Word used already", message: "Be more original")
    return
}

guard isPossible(word: answer) else {
    wordError(title: "Word not possible", message: "You can't spell that word from '\(rootWord)'!")
    return
}

guard isReal(word: answer) else {
    wordError(title: "Word not recognized", message: "You can't just make them up, you know!")
    return
}
If you run the app now, you will see that it will not allow you to use words that do not pass our tests.

You can also read this article in Turkish.
Bu yazıyı Türkçe olarak da okuyabilirsiniz.