
In this chapter, we build our GuessTheFlag application using the topics we worked on in chapter 1 such as Stack, Color, Frame, Gradient, Button, Image, Alert. We run our application and develop the user interface step by step.
This project is also available on GitHub.
GitHub - GorkemGuray/GuessTheFlag: 100 Days of SwiftUI - Project-2
We’ll start by creating the basic UI structure, consisting of two labels telling the user what to do, followed by three image buttons showing the three world flags.
You can download flag images here
Alignment of Buttons #
Drag these downloaded files into the asset folder. You will notice that the images are named @2x or @3x. These are images with double or triple resolution to handle different types of iOS screens.
We will need two properties to store the game data:
- An array of all the country images we want to show in the game
- An integer that stores which country has images
var countries = ["Estonia", "France", "Germany", "Ireland", "Italy", "Nigeria", "Poland", "Spain", "UK", "Ukraine", "US"]
var correctAnswer = Int.random(in: 0...2)
The Int.random(in:) method returns a random number. We will use this to decide which country flag to touch.
In body we need to place prompt as a vertical stack, let’s start with that;
var body: some View {
    VStack {
        Text("Tap the flag of")
        Text(countries[correctAnswer])
    }
}
Below that we want to have touchable flag buttons. Although we can add them to the same VStack, we can actually create a second VStack so that we have more control over the ranges.
The VStack we created above contains two text views and there are no spaces, but we will get a better look by adding a 30pt space between the flags.
So we will wrap our previous VStack with another VStack, this time with a spacing of 30, and then add a new ForEach loop.
VStack(spacing: 30) {
    VStack {
        Text("Tap the flag of")
        Text(countries[correctAnswer])
    }

    ForEach(0..<3) { number in
        Button {
           // flag was tapped
        } label: {
            Image(countries[number])
        }
    }
}
Having two vertical stacks in this way allows us to position objects more precisely: the outer stack places its views at 30pt intervals, while the inner stack has no special spacing.
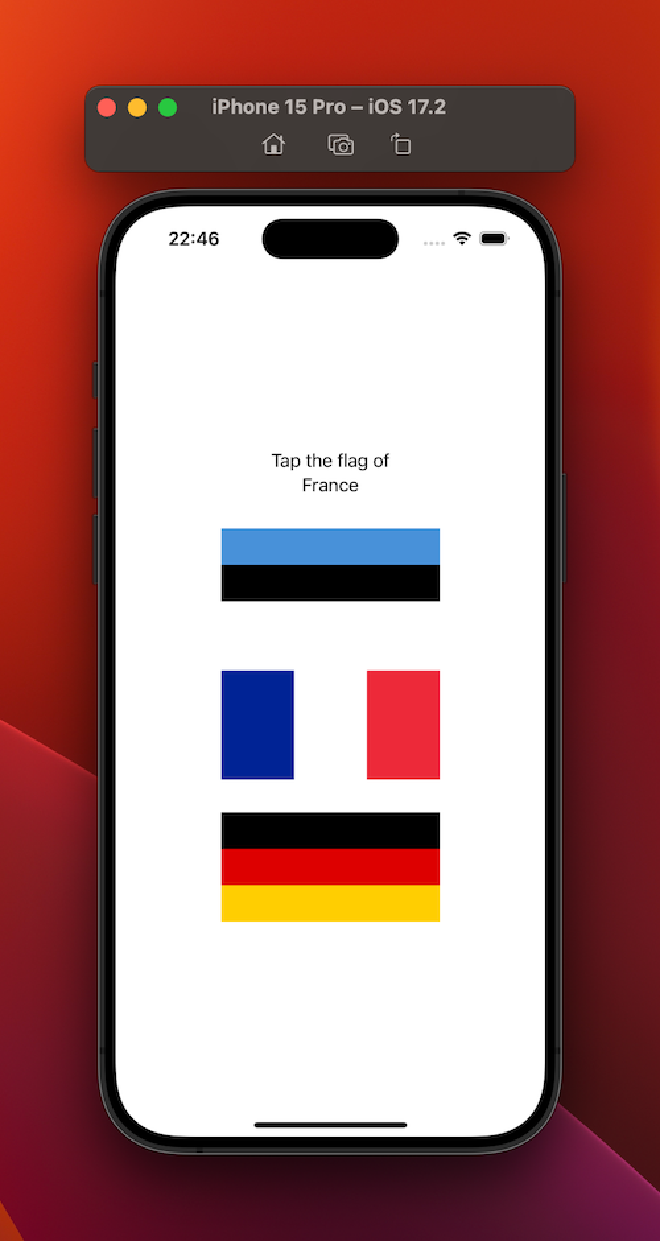
Although this view gives an idea, it is not very user-friendly.
For now let’s put a blue background to make the flags easier to see. Since this means putting something behind the VStack, we need to use a ZStack.
Let’s start by putting a ZStack around the outer VStack as follows.
var body: some View {
    ZStack {
        // previous VStack code
    }
}
Let’s put this just before the outer `VStack';
Color.blue
    .ignoresSafeArea()
The .ignoresSafeArea() modifier here makes the color extend to the edge of the screen.
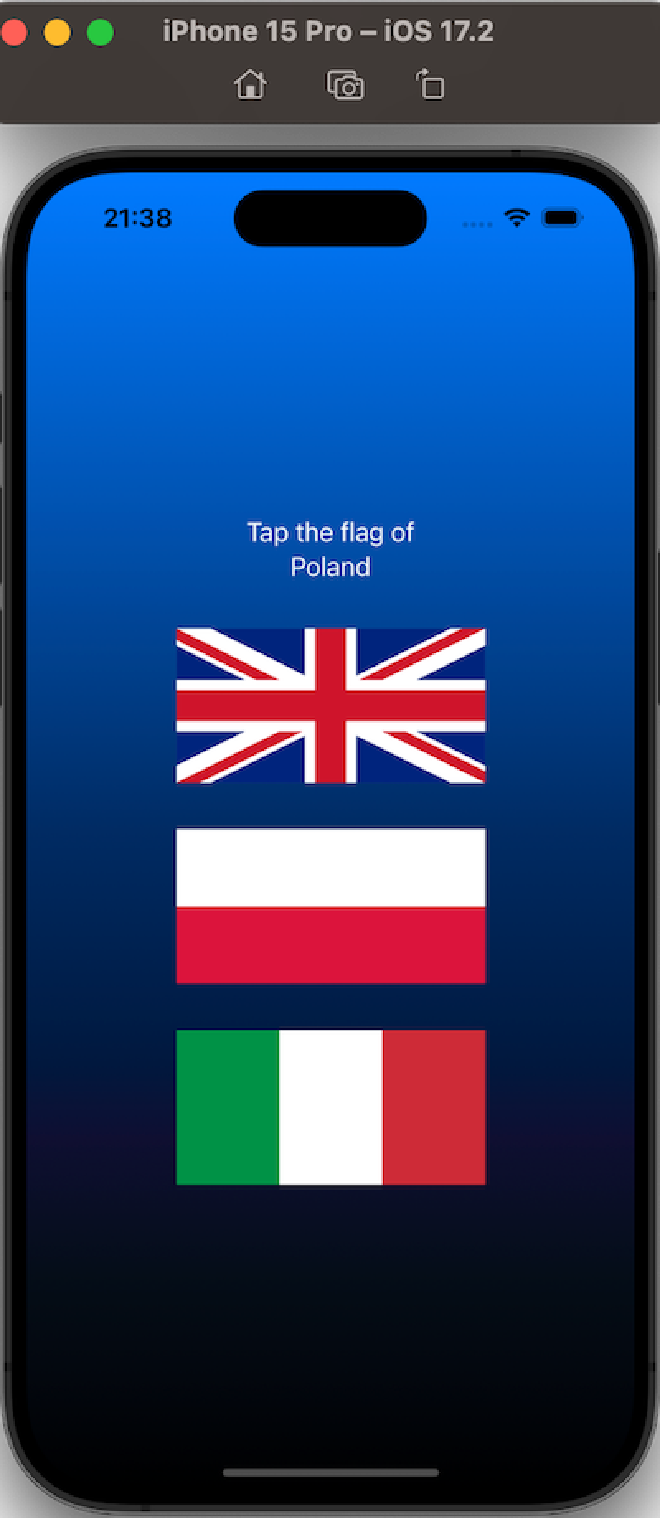
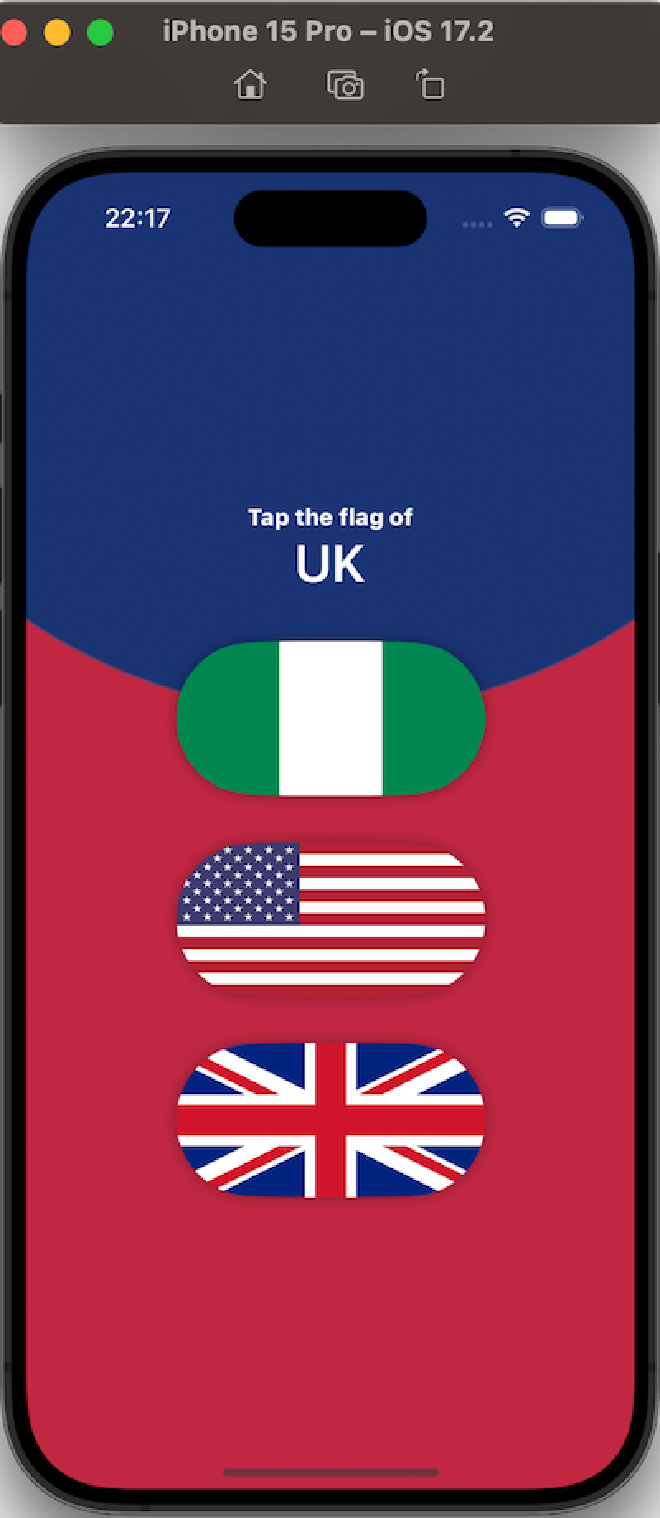
Since we have a darker background, we should give it a brighter color so that the text stands out better.
Text("Tap the flag of")
    .foregroundStyle(.white)

Text(countries[correctAnswer])
    .foregroundStyle(.white)
Displaying Player Score with Alert #
For the game to function, we need to randomize the order in which the flags are displayed, trigger an alert when a flag is touched telling us whether they are true or false, and then reshuffle the flags.
We already set correctAnswer to a random integer, but the flags always start in the same order. To fix this we need to shuffle the countries array when the game starts, so we can make a change like this;
var countries = ["Estonia", "France", "Germany", "Ireland", "Italy", "Nigeria", "Poland", "Spain", "UK", "Ukraine", "US"].shuffled()
In this way, the array order is automatically randomized with the shuffled() method.
So what should we do when a flag is tapped? We need to replace the // flag was tapped comment with code that determines if the correct flag was tapped. The best way to do this is with a new method that accepts the integer of the button and checks if it matches our correctAnswer property.
We want to show an alert telling the user what happened so that they can follow their progress. So, let’s add the following property to store whether the alert is shown or not;
@State private var showingScore = false
And let’s add the following property to store the title to be shown in the alert;
@State private var scoreTitle = ""
We need a method that will accept the number of the button tapped, compare it to the correct answer and then set the two properties we just defined (showingScore and scoreTitle) so that we can show a meaningful alert.
After the body property, let’s add the following;
func flagTapped(_ number: Int) {
    if number == correctAnswer {
        scoreTitle = "Correct"
    } else {
        scoreTitle = "Wrong"
    }

    showingScore = true
}
Now we can replace the comment // flag was tapped with our method.
flagTapped(number)
number is given to us by ForEach, so we can use it directly in the flagTapped() method.
When the alert is closed, we will write a askQuestion() method that resets the game by reshuffling the countries and selecting a new correct answer.
func askQuestion() {
    countries.shuffle()
    correctAnswer = Int.random(in: 0...2)
}
This code will not compile and will give an error, we are trying to modify properties of the view that are not marked with @State and this is not allowed. So we need to go to where countries and correctAnswer are declared and add @State private in front of them.
@State private var countries = ["Estonia", "France", "Germany", "Ireland", "Italy", "Nigeria", "Poland", "Spain", "UK", "Ukraine", "US"].shuffled()
@State private var correctAnswer = Int.random(in: 0...2)
Now we are ready to show the alert. Here’s how to do it;
- The
alert()modifier will be used so that an alert is shown whenshowingScoreis true. - The title we set in
scoreTitlewill be shown. - When touched, we will have a button that calls the
askQuestion()method and turns off the alert.
Let’s place the following code at the end of ZStack in body;
.alert(scoreTitle, isPresented: $showingScore) {
    Button("Continue", action: askQuestion)
} message: {
    Text("Your score is ???")
}
Shaping Flags #
Our game works except for the score, but we can make our appearance a bit better.
First, let’s change the solid blue background color with a linear gradient from blue to black, so that even if there is a blue stripe on our flag, it stands out from the background.
Find this line;
Color.blue
    .ignoresSafeArea()
And change it like this;
LinearGradient(colors: [.blue, .black], startPoint: .top, endPoint: .bottom)
    .ignoresSafeArea()
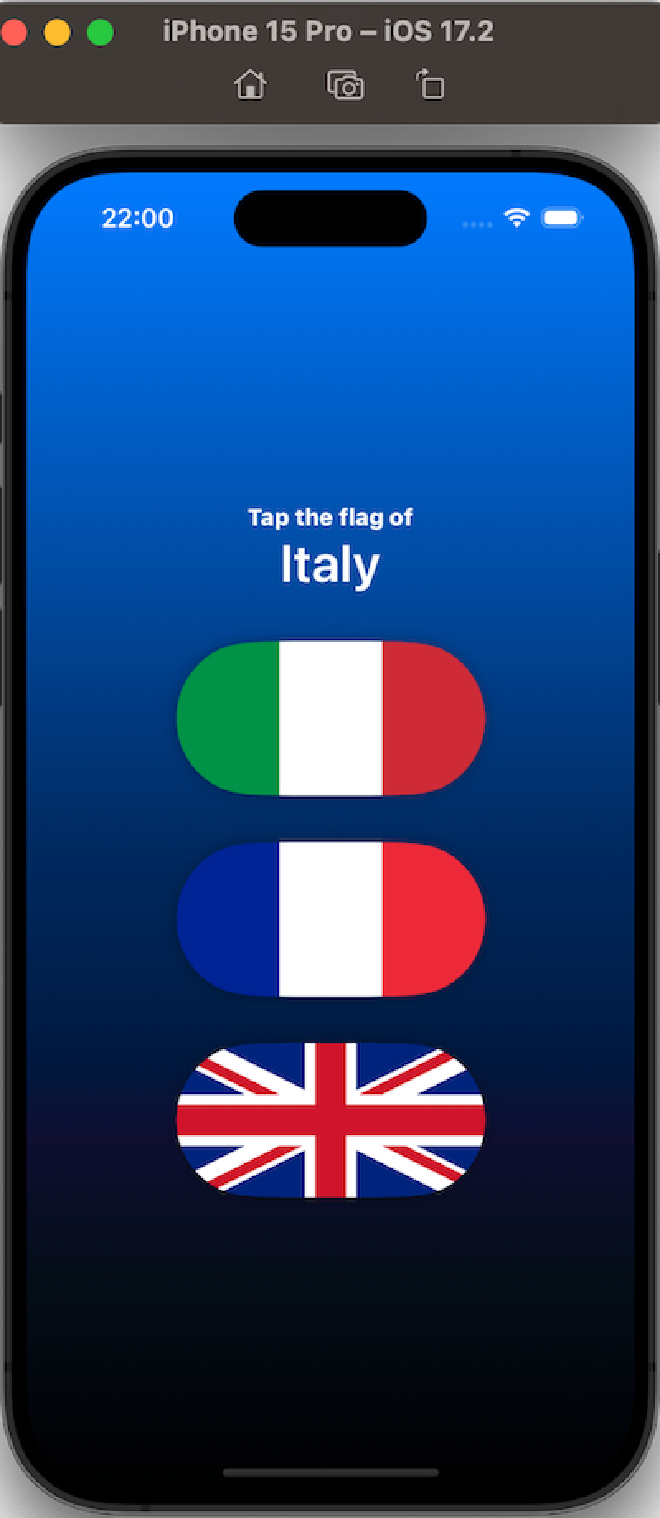
Now let’s change the writing styles we use;
We can control the size and style of text using the font() modifier, which allows us to choose one of the built-in font sizes in iOS. We can control the thickness (weight) of fonts with the weight() modifier.
Let’s start using both of these, adding them right after the text “Tap the flag of”;
.font(.subheadline.weight(.heavy))
After Text(countries[correctAnswer]) view, let’s add the following;
.font(.largeTitle.weight(.semibold))
“Large title” is the largest built-in font size that iOS offers, and it automatically scales up or down depending on the user’s settings for fonts. Also known as Dynamic Type.
Let’s change the shape of the flags and add some shadows to give them a little more flavor.
Swift has four built-in shapes: rectangle, rounded rectangle, circle and capsule. Here we will use capsule. To make our image a capsule shape, just add the modifier .clipShape(.capsule) as follows.
.clipShape(.capsule)
We also want to apply a shadow effect around each flag to make them stand out from the background. This is done using the shadow() modifier which takes the color, radius, X and Y offset of the shadow as parameters. Here we can specify only the radius, in which case the other parameters take the default values.
.shadow(radius: 5)
So our flag image with all of these added looks like this;
Image(countries[number])
    .clipShape(.capsule)
    .shadow(radius: 5)
Upgrading the Design #
At this point we have built the app and it works well, but we can make it better.
Let’s start with the blue-black gradient behind the flags. We can do this with a gradient with stops. If we create two identical stops, the gradient disappears completely and the color goes directly from one to the other.
RadialGradient(stops: [
    .init(color: .blue, location: 0.3),
    .init(color: .red, location: 0.3),
], center: .top, startRadius: 200, endRadius: 700)
    .ignoresSafeArea()
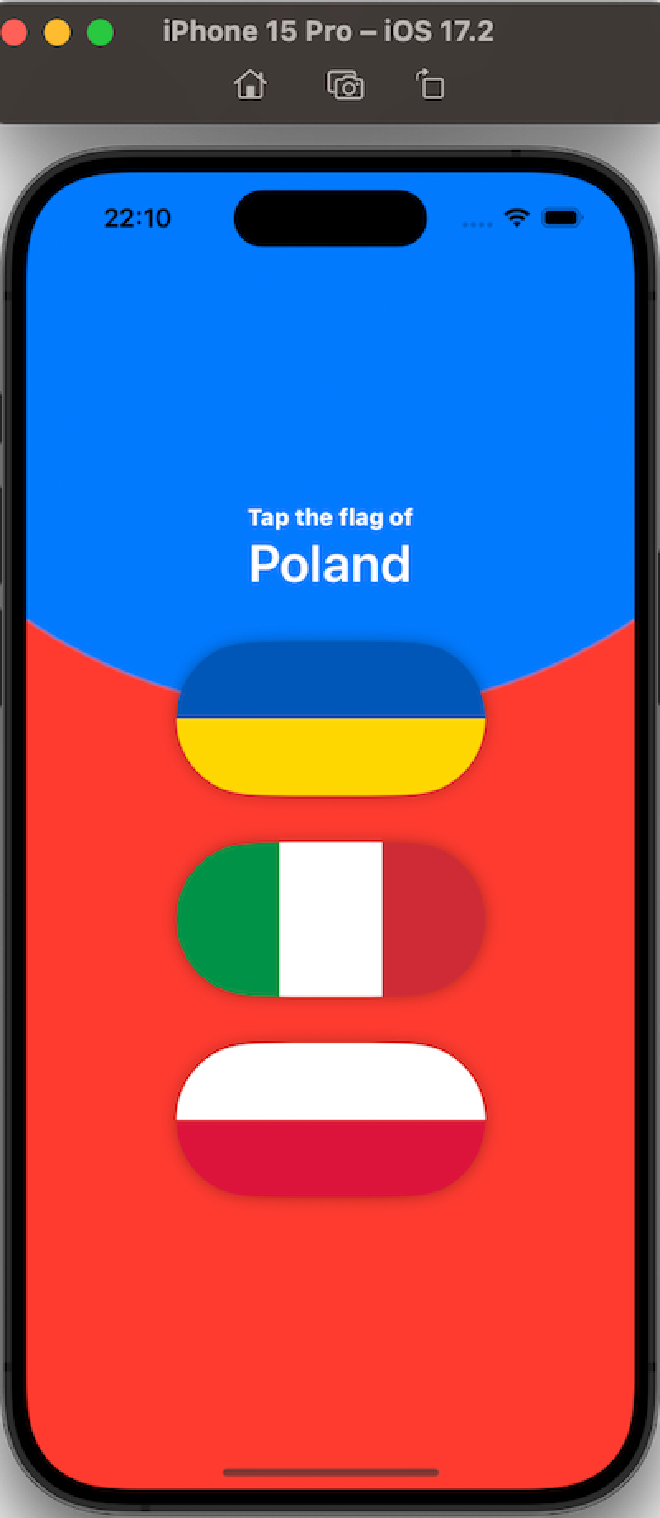
It’s an interesting effect, as if we placed a blue circle on a red background. But it’s also ugly 😅 red and blue colors are very bright together.
We can instead use toned down versions of the same colors to get something that looks more harmonious.
RadialGradient(stops: [
    .init(color: Color(red: 0.1, green: 0.2, blue: 0.45), location: 0.3),
    .init(color: Color(red: 0.76, green: 0.15, blue: 0.26), location: 0.3),
], center: .top, startRadius: 200, endRadius: 400)
    .ignoresSafeArea()
Then let’s reduce the VStack with 30pt spacing to 15pt;
VStack(spacing: 15) {
We do this because we will enclose the entire area of flags and text in a colored frame. To do this, add the following at the end of the same VStack.
.frame(maxWidth: .infinity)
.padding(.vertical, 20)
.background(.regularMaterial)
.clipShape(.rect(cornerRadius: 20))
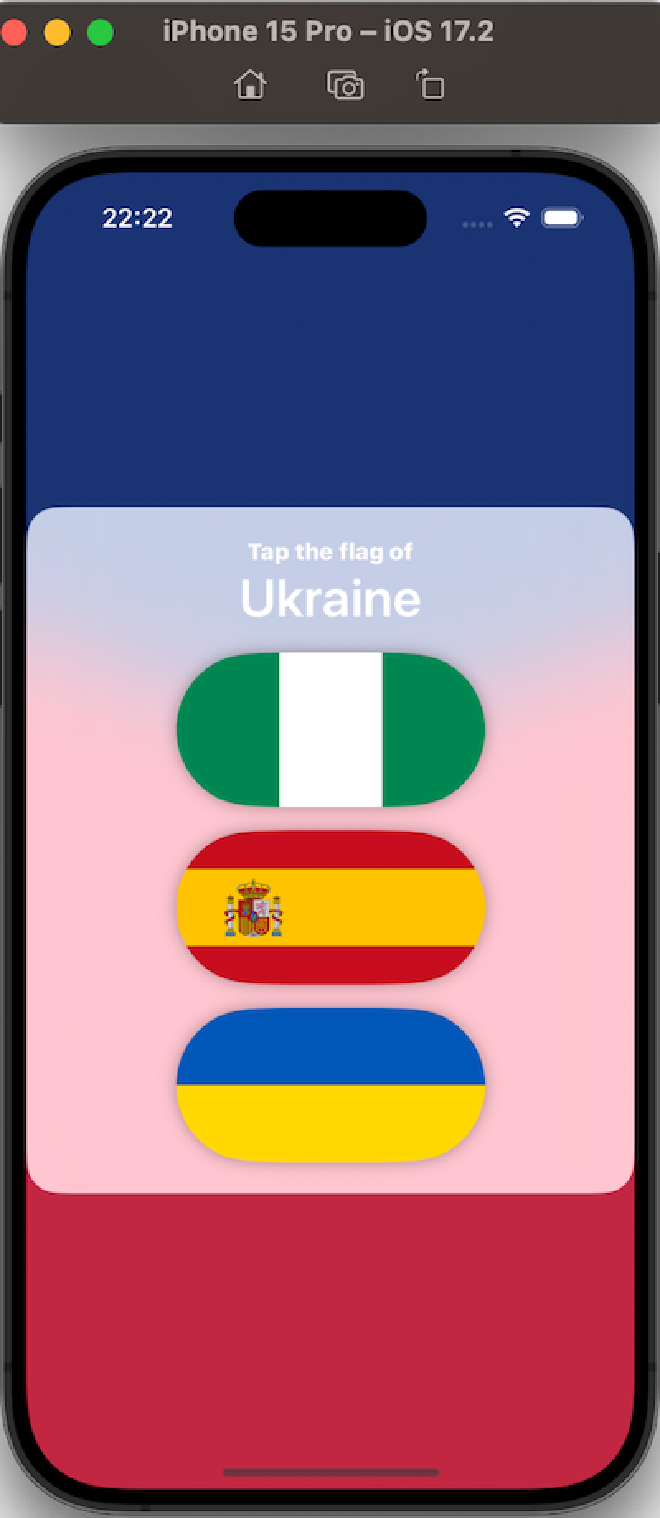
It’s already looking good!
By adding a new VStack, let’s show a header and a score field before our main box.
To add this, wrap the existing VStack with a new VStack with a header at the top.
VStack {
    Text("Guess the Flag")
        .font(.largeTitle.weight(.bold))
        .foregroundStyle(.white)

    // current VStack(spacing: 15) code
}
Using bold is so common that there is a shortcut for it:
.font(.largeTitle.bold())
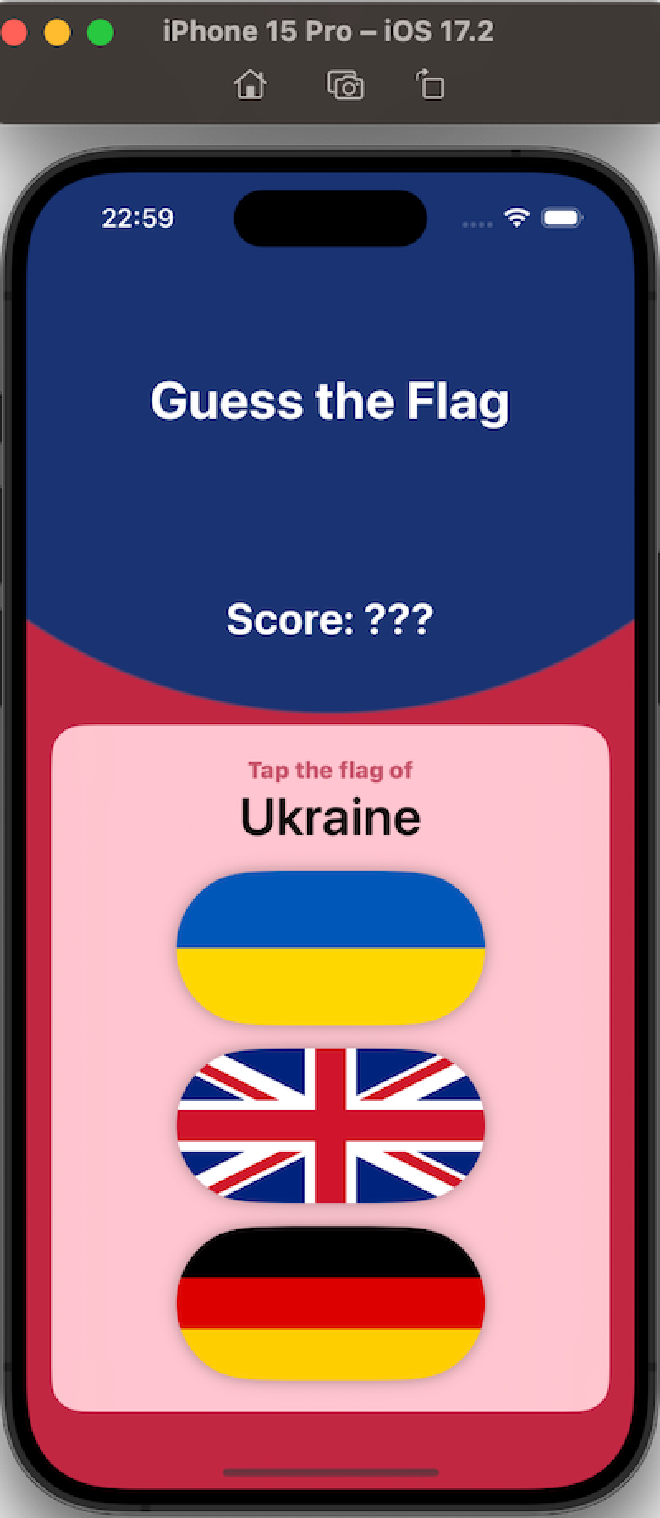
Let’s also add a score field under our header.
Text("Score: ???")
    .foregroundStyle(.white)
    .font(.title.bold())
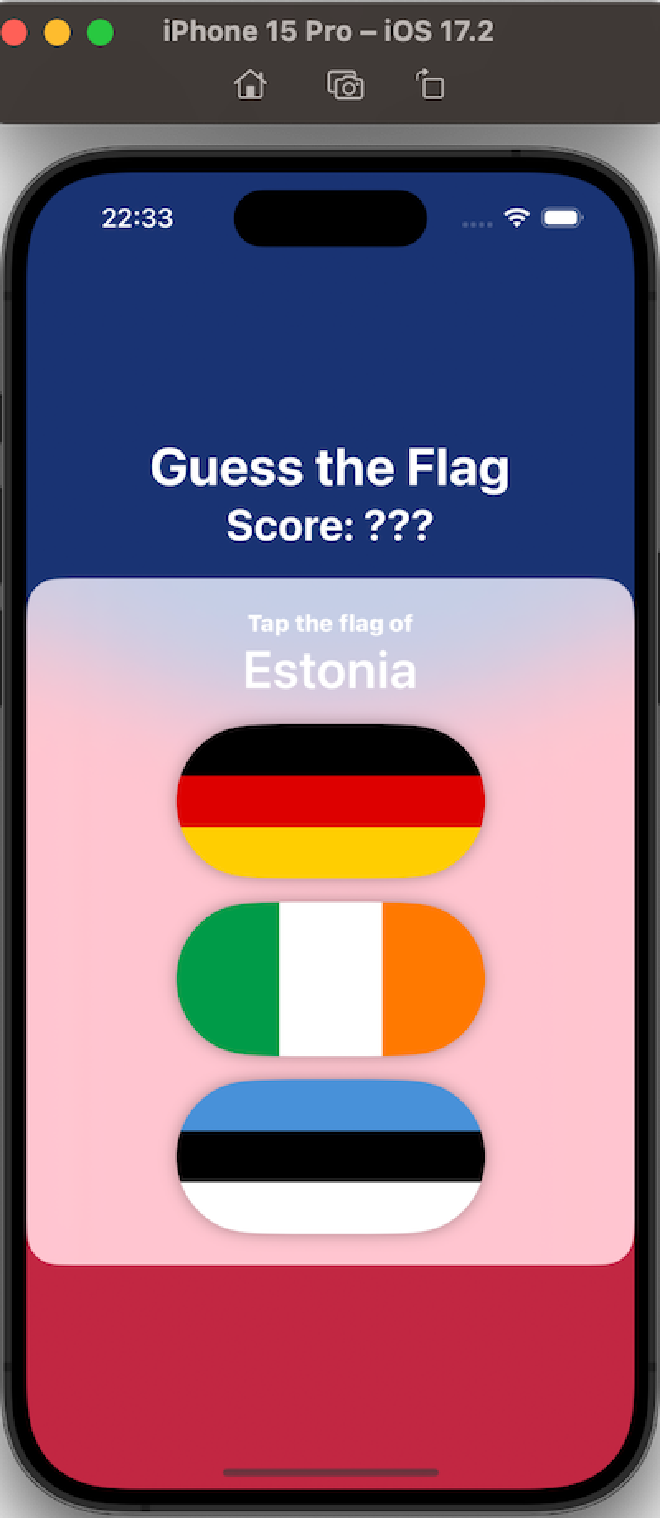
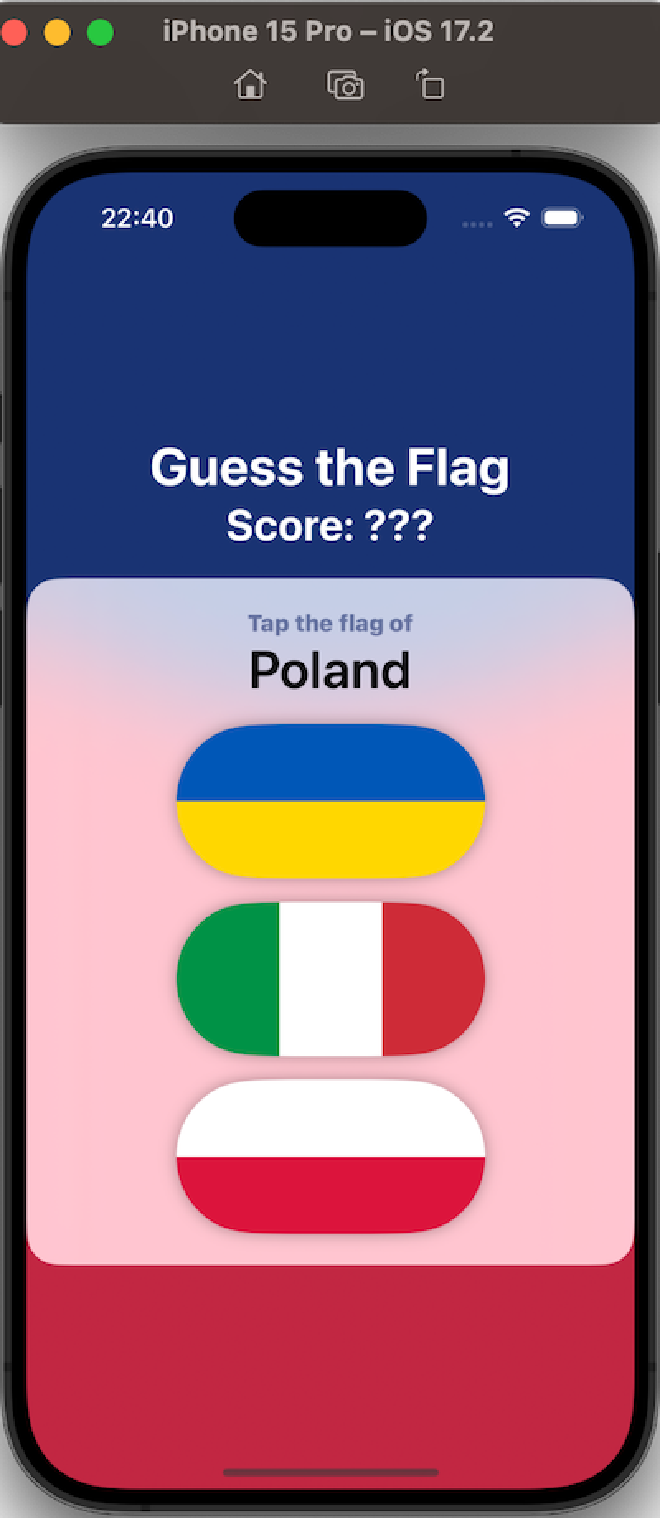
The “Guess the Flag” and score labels look good. But the text inside our box is a bit hard to read.
To fix this, we can delete the foregroundStyle() modifier in Text(countries[correctAnswer]) so that it uses the primary color for the system by default.
As for the expression “Tap the flag of”, we want the color of this to shine a bit, so we can modify the foregroundStyle() modifier as follows.
.foregroundStyle(.secondary)
Our interface works fine, but for large screen devices, it looks like all the elements are centered. There are gaps at the top and bottom. By using Spacer() we can distribute these spaces and also make it compatible for small screen devices.
To solve this problem we will add Spacer() to the outermost VStack. There will be 4 Spacer()s to add;
- One, before “Guess the Flag”
- Two, before “Score: ????”
- One, after “Score: ????”
VStack{
                Spacer()
                Text("Guess the Flag")
                    .font(.largeTitle.weight(.bold))
                    .foregroundStyle(.white)
                Spacer()
                Spacer()
                Text("Score: ???")
                    .foregroundStyle(.white)
                    .font(.title.bold())
                Spacer()
// rest of code

}
and finally add padding() to the outermost VStack.
.padding()
This way, our code will display properly on all devices, from small to large screens.
You can also read this article in Turkish.
Bu yazıyı Türkçe olarak da okuyabilirsiniz.