
In today’s article, we will summarize the important points we learned from the projects we carried out on days 16-24.
In this article, we will focus on 3 important topics. These are;
- Struct vs Class
- ForEach
- Working with Binding
Struct vs Class #
We mentioned five differences between struct and class in our previous article.
- Classes do not have a memberwise initializer, structs have a memberwise initializer by default.
- Classes can use inheritance to build functionality, structs cannot.
- If we copy a class, both copies point to the same data, copies of structs are always unique.
- Classes can have a deinitializer, structs cannot.
- We can change the variable properties of constant classes, the properties inside constant structs are constant regardless of whether the properties are constant or variable.
In Objective-C, Apple’s original programming language, classes were used for almost everything. Because this was built into the way it worked, we had no choice.
In Swift, we can make this choice. We make this choice according to the special cases in our code. When someone reads our code, they should understand exactly what our intentions are. If we use struct most of the time, switching to class in a certain place expresses some intention. If we always use classes, this distinction is lost.
One of the differences of SwiftUI is that it completely reverses how we use structs and classes. In UIKit we used structs for data and classes for user interfaces, in SwiftUI it’s the other way around.
Working with ForEach #
The second thing we will talk about is ForEach for example we can use it in a code like this;
ForEach(0 ..< 100) { number in
    Text("Row \(number)")
}
ForEach is a view like most other things in SwiftUI. It allows us to create other views in a loop.
Let’s imagine we have a string array like this;
let agents = ["Cyril", "Lana", "Pam", "Sterling"]
How can we create text views by looping over them?
One option is to use our existing structure;
VStack {
    ForEach(0..<agents.count) {
        Text(agents[$0])
    }
}
But SwiftUI offers us a second alternative; we can loop directly on the array.
If we loop over an Array with four elements, we will create four views, but if the body is called again and the array now contains five elements, SwiftUI needs to know which view is new. The last thing SwiftUI wants to do is trash the entire layout when a small change is made and start from scratch. Instead, it wants to do the least amount of work possible: it wants to leave the four existing views in place and only add a fifth.
So, we go back to how Swift can identify values in Array. When we used a range like 0..<5 or 0..<agents.count, Swift was sure that each element was unique because it would use the numbers in the range. (Each number is only used once in the loop, so it would be absolutely unique)
In String Array this is no longer possible, but we can clearly see that each value is unique: ["Cyril", "Lana", "Pam", "Sterling"] does not repeat. So we can tell SwiftUI that what can be used to uniquely identify each view in the loop is the strings themselves, “Cyril”, “Lana”, etc.
We can write the code as follows;
VStack {
    ForEach(agents, id: \.self) {
        Text($0)
    }
}
Therefore, instead of looping over integers and using those integers to read from the array, we read the items in the Array directly.
As we move forward with SwiftUI, we will explore a third way to identify views, using the Identifiable protocol.
Working with Bindings #
When we use controls like Picker and TextField, we create a two-way binding to the @State property using $propertyName. This works great for simple properties, but sometimes we may want something more advanced. What if we want to do some logical operations to calculate the current value? Or what if we want to do more than just store a value?
We could try to use Swift’s didSet property observer to react to the changes, but that would frustrate us. This is where custom bindings come in: They can be used like the @State binding.
Binding is not magic. @State eliminates some boring template code for us, but it is possible to create and manage bindings manually if we want.
Everything SwiftUI does for us can be done manually. While it’s almost always better to rely on the automated solution, it can be really useful to take a look behind the scenes so we can understand what it’s doing on our behalf.
First, let’s look at the simplest form of custom binding, which stores the value in another @State property and reads it back;
struct ContentView: View {
    @State private var selection = 0

    var body: some View {
        let binding = Binding(
            get: { selection },
            set: { selection = $0 }
        )

        return VStack {
            Picker("Select a number", selection: binding) {
                ForEach(0..<3) {
                    Text("Item \($0)")
                }
            }
            .pickerStyle(.segmented)
        }
    }
}
So, this binding effectively acts only as a transition. It does not store and compute any data itself, but only acts as a bridge between our UI and the base case value being manipulated.
However, notice that the picker is now done using selection: binding so there is no need for the $ sign anymore. We don’t need to explicitly ask for two-way binding here because we already have it.
If we wanted to, we could create a more advanced binding that does more than just pass a single value. For example, let’s say we have a form with three toggle switches; does the user agree to the terms and conditions, does the user agree to the privacy policy, and does the user agree to receive emails about shipping?
We can represent it as three Boolean @State properties;
@State var agreedToTerms = false
@State var agreedToPrivacyPolicy = false
@State var agreedToEmails = false
Although the user can change all of the toggle switches manually, we can use a special binding to do them all at the same time. This binding happens if all three Booleans are true, but updates them all if they are changed, like this;
let agreedToAll = Binding(
    get: {
        agreedToTerms && agreedToPrivacyPolicy && agreedToEmails
    },
    set: {
        agreedToTerms = $0
        agreedToPrivacyPolicy = $0
        agreedToEmails = $0
    }
)
Now we can create four toggle switches: each separate Boolean and a control switch that accepts or rejects all three at the same time.
struct ContentView: View {
    @State private var agreedToTerms = false
    @State private var agreedToPrivacyPolicy = false
    @State private var agreedToEmails = false

    var body: some View {
        let agreedToAll = Binding<Bool>(
            get: {
                agreedToTerms && agreedToPrivacyPolicy && agreedToEmails
            },
            set: {
                agreedToTerms = $0
                agreedToPrivacyPolicy = $0
                agreedToEmails = $0
            }
        )

        return VStack {
            Toggle("Agree to terms", isOn: $agreedToTerms)
            Toggle("Agree to privacy policy", isOn: $agreedToPrivacyPolicy)
            Toggle("Agree to receive shipping emails", isOn: $agreedToEmails)
            Toggle("Agree to all", isOn: agreedToAll)
        }
    }
}
Custom binding is not something we will use very often, but it is important to take the time to look behind the scenes and understand what is going on.
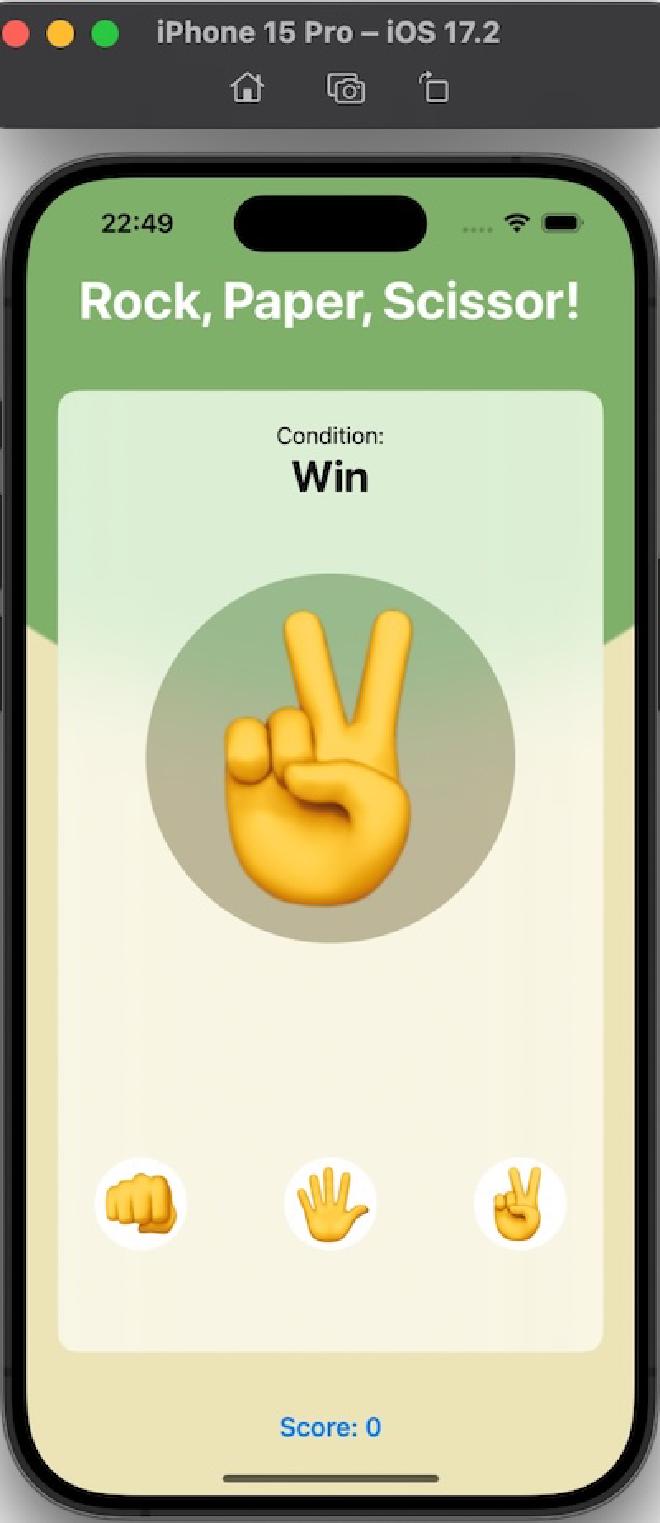
You can access the project of the Rock, Paper, Scissors game below.
GitHub - GorkemGuray/ROPS: 100 Days of SwiftUI - Milestone: Projects 1-3
You can also read this article in Turkish.
Bu yazıyı Türkçe olarak da okuyabilirsiniz.